Creating an Application Insights repository
A new Application Insights repository can easily be created in Azure using the following steps :
- Connect to the Azure Portal.
- Enter
Application insightsin the search bar and selectApplication InsightsinServices.
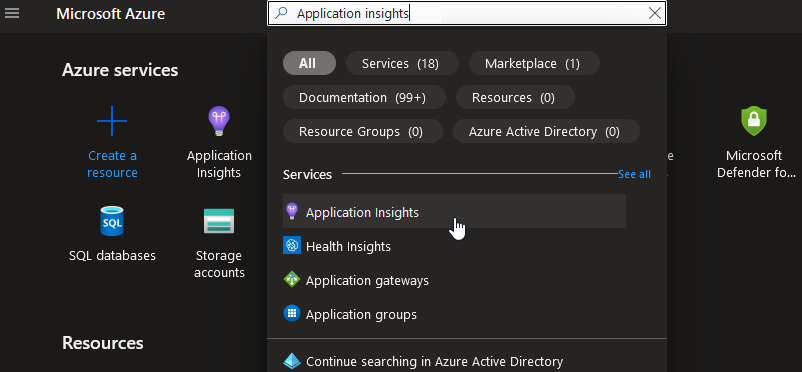
- Click on
Create. - Select the subscription. If you have a Visual Studio subscription linked to you account, you can choose it to create a personal repository.
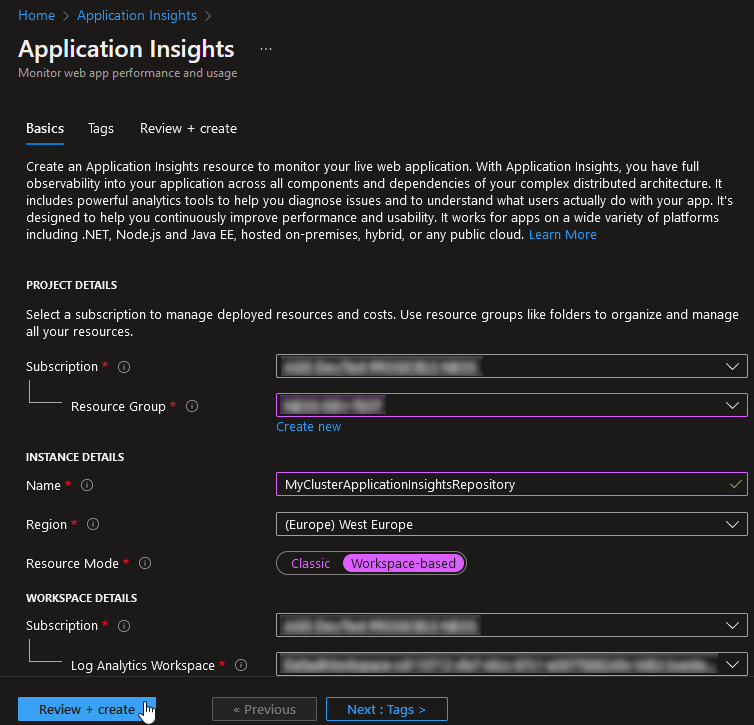
- Select or create the resource group the Application Insights repository will belong to.
- Enter the repository name.
- Choose the region where you want it to be hosted.
- Click on
Review + create.
Azure checks that the repository can be created and displays a validation screen.
- Click on
Create.
A deployment screen of your repository appears.
- When the repository is deployed, click on
Go to resource
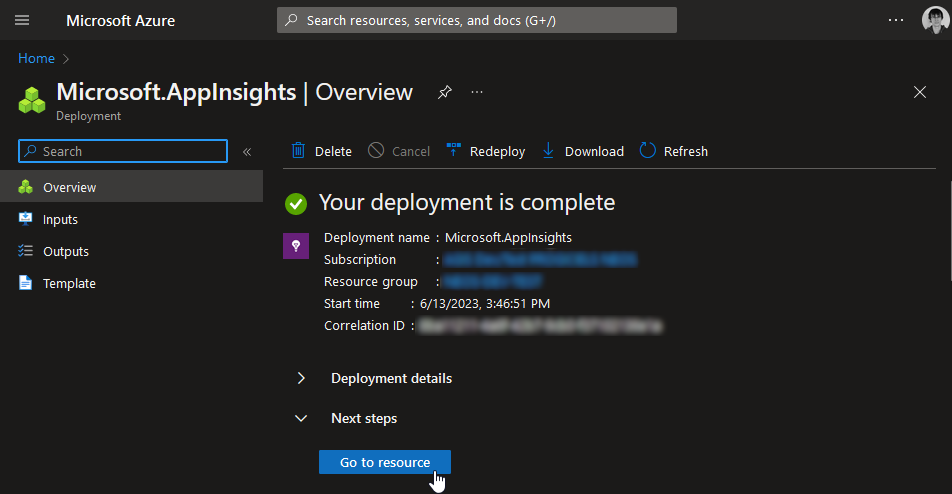
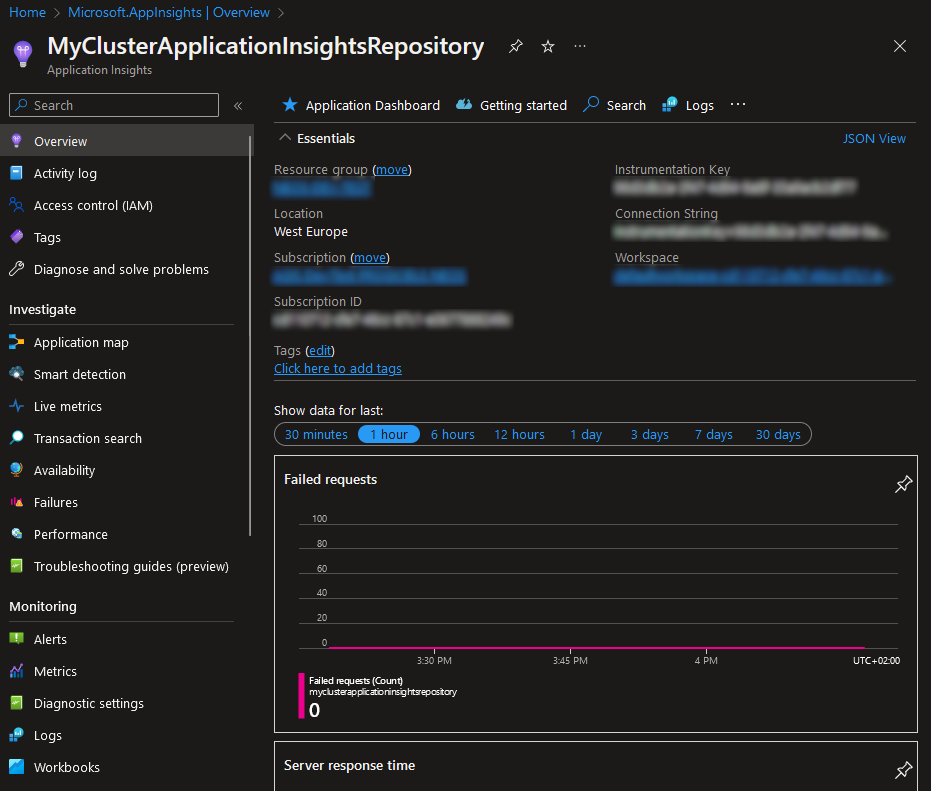
Now you see your Application Insights repository.
Note its name, Resource group and Instrumentation key, they are used to connect Neos to the repository.
Personal repository
It can be useful for developers to create their own Application Insights repository. For example, when working on a local cluster, it is possible to configure it to send its logs to this personal repository to help debugging.
Activating Azure services on a Visual Studio account
To access Azure services, it is necessary to create an account.
Visual Studio subscriptions provided by Isagri come with a monthly credit of $50 (~ €45) that allows the usage of Azure services.
Application Insights is free up to a limit of 5GB of logs, but it is still necessary to activate this credit in order to access it.
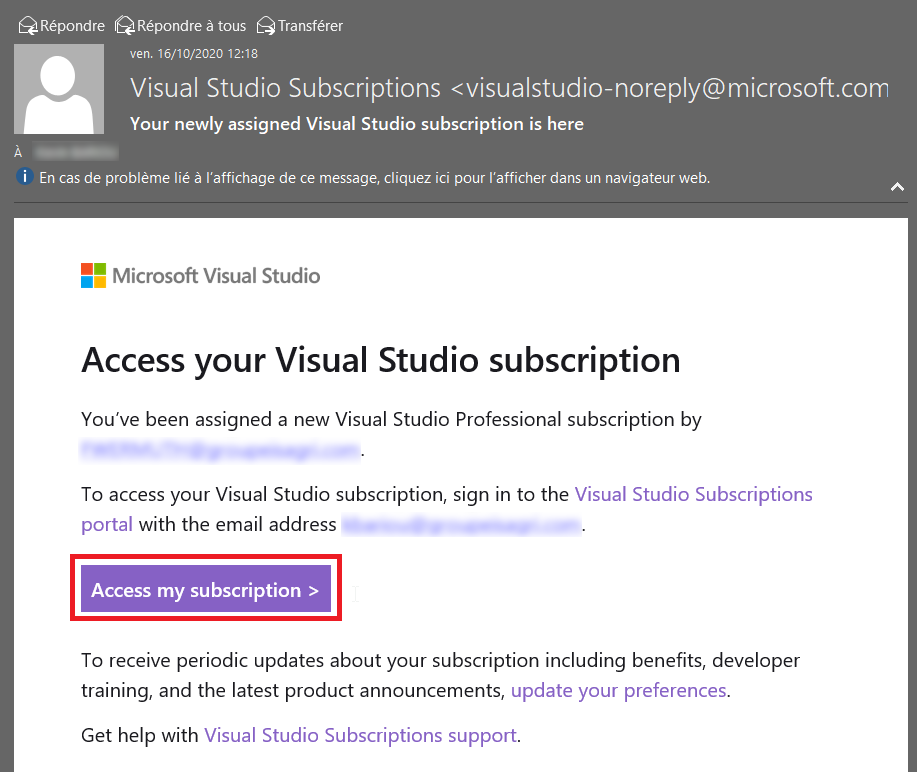
- Find the email confirming your Visual Studio subscription (Subject:
Your newly assigned Visual Studio subscription is here, From:Visual Studio Subscriptions visualstudio-noreply@microsoft.com). - Click on
Access my subscription.
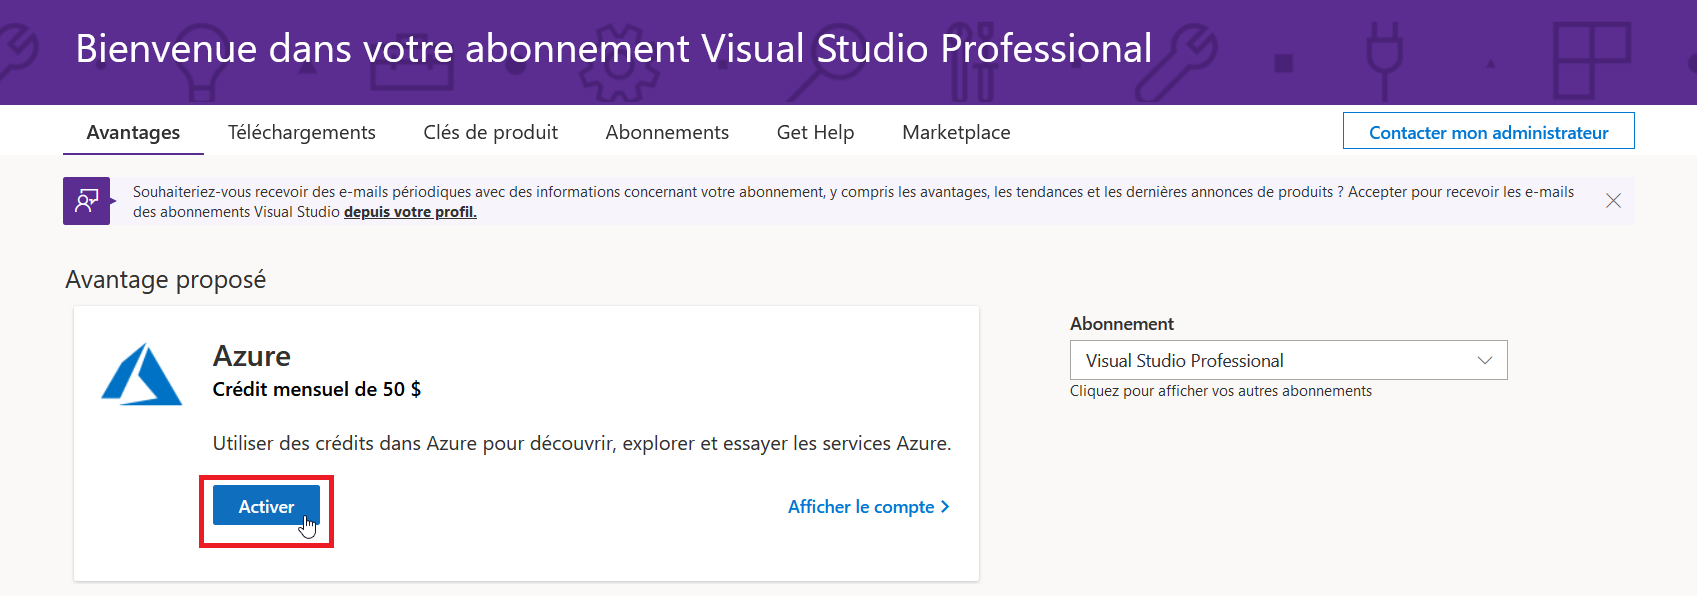
The Visual Studio subscription page opens. A box offers the monthly $50 credit.
- Click on
Activate.
An Azure subscription page opens.
- Check the box
I agree .... - Click on "Sign up."

If everything goes well, a page from the Azure portal opens, and a confirmation email regarding the activation of the monthly Azure credit is received.
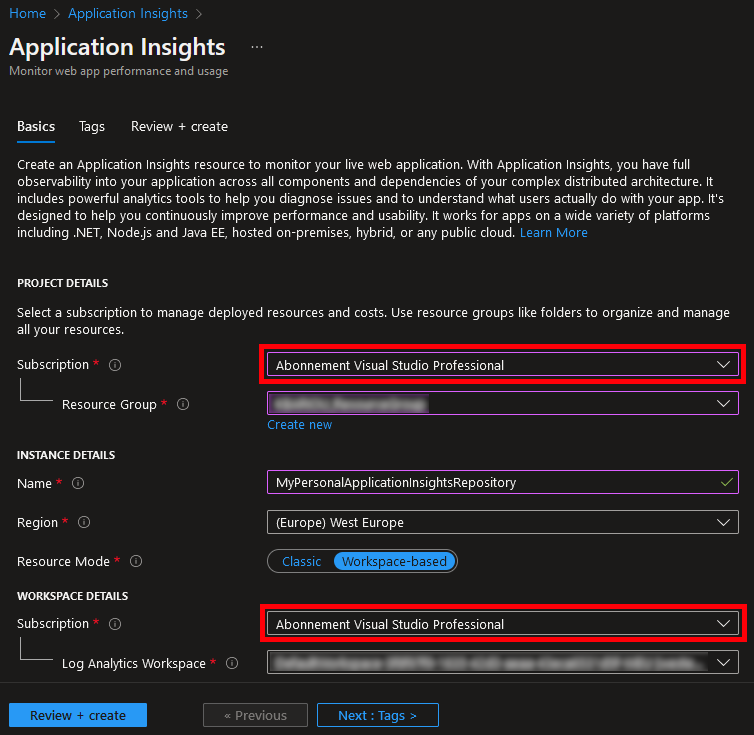
Using the Visual Studio subscription to create your own Application Insights repository
The process of creating a personal Application Insights repository is identical to the one described earlier.
The only difference lies in choosing the Visual Studio Professional Subscription when creating it.