Using GitHub Copilot with Neos
GitHub Copilot enhances your Neos development experience by providing intelligent code suggestions, function completion, and the ability to generate entire business classes and unit test classes based on your code context. This integration works seamlessly in both Visual Studio and Visual Studio Code.
Neos provides specialized extensions and tools to maximize GitHub Copilot's effectiveness in Neos projects.
Instruction Files
Specialized instruction files for Neos cluster development are available in the GithubCopilot Git repository.
Setup Instructions:
- Download the instruction files from the repository
- Copy these files into the
.githubsubfolder of your Neos cluster
Note
You can contribute to this repository to correct or enhance the instructions. To do so, create a pull request in the repository.
Model Context Protocol (MCP) Server
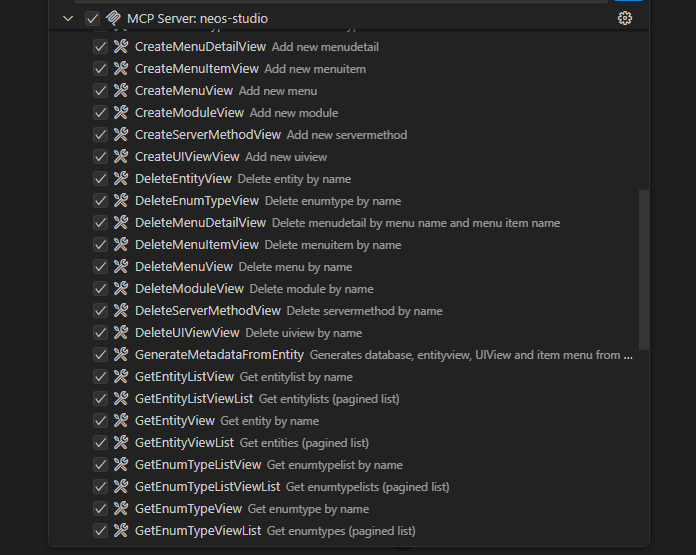
Neos enhances GitHub Copilot's capabilities through an integrated MCP server. NeosStudio exposes this MCP server, enabling Copilot to directly access your Neos cluster data and operations for more contextually aware assistance.
Prerequisites
- NeosStudio version 2.5 or higher must be running before configuring GitHub Copilot
Configuring Visual Studio
Important
Ensure you are using Visual Studio version 17.14.16 or higher.
Setup Steps
Access MCP Configuration
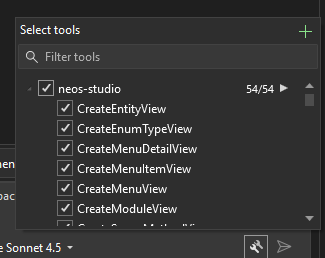
- Click the
Toolsbutton in the Copilot chat window - Click the "+" button to add a new MCP server
- Click the
Configure Server Settings
- Server ID: Enter
neos-studio(or any preferred name) - Type: Select
HTTP/SSE - Server URL:
http://localhost/neos/[Your-cluster-name]/designer/api/mcp
- Server ID: Enter
Verify Configuration
- Select Agent mode
- Open the tools menu
- Verify that 'neosdoc' is available
Warning
Replace [Your-cluster-name] with your actual Neos cluster name. Always use http instead of https, as the IDE does not support HTTPS for local MCP servers.
Configuring Visual Studio Code
Important
Ensure you are using Visual Studio Code version 1.105 or higher.
Setup Steps
Access Agent Mode
- Open Copilot Chat
- Select Agent mode in the prompt box
Add MCP Server
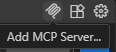
- Click the
Toolsbutton - Select
Add MCP Server...from the dropdown
- Click the
Configure Connection
- Select
HTTP (HTTP or Server-Sent Events) - Server URL:
http://localhost/neos/[Your-cluster-name]/designer/api/mcp - Server ID: Enter
neos-studio(or any preferred name)
- Select
Verify Setup
- Open Copilot Chat
- Switch to Agent mode
- Click the "Tools" button
- Verify that the MCP NeosDoc server is visible
Warning
Replace [Your-cluster-name] with your actual Neos cluster name. Always use http instead of https, as the IDE does not support HTTPS for local MCP servers.